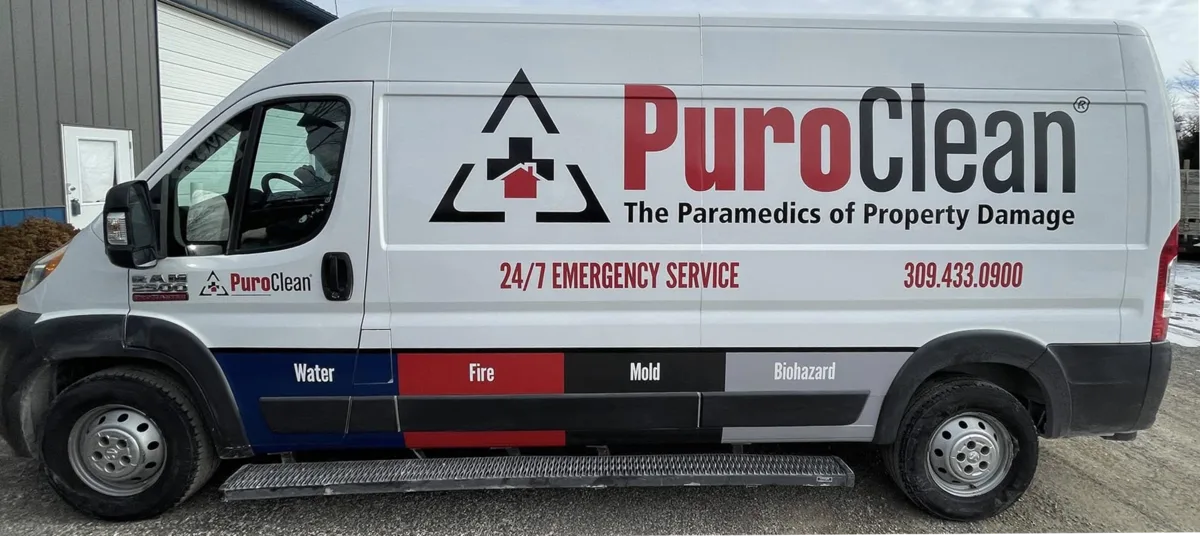
Sprinter Van Wrap Cost Wrap Installation Process
Wrapping a Sprinter Van Wrap Cost requires specialized knowledge of the vehicle's body panels, curves, and surface geometry. At Chicago Fleet Wraps, we've wrapped hundreds of Sprinter Van Wrap Cost models and know every challenge point — from door handles and mirrors to rear bumper contours and roof transitions.
Surface Preparation: Every Sprinter Van Wrap Cost wrap begins with a thorough surface prep. We clay bar the entire vehicle to remove embedded contaminants, then perform an IPA (isopropyl alcohol) wipe to eliminate wax, silicone, and residue. Any existing damage — chips, dents, or rust spots — is documented and addressed before wrapping. Vinyl adheres to the surface beneath it, so preparation quality directly determines wrap longevity.
Panel-by-Panel Installation: Our certified installers work panel by panel, using heat guns calibrated to 180–200°F to activate the adhesive and conform the vinyl to curves. Each panel is post-heated to 220°F after application to ensure permanent adhesion. Edges are sealed with 3M Primer 94 on high-stress areas like door edges, bumper lips, and mirror housings.
Quality Inspection: After installation, every Sprinter Van Wrap Cost wrap undergoes our 47-point quality check: edge adhesion, panel alignment, bubble-free surfaces, color consistency across panels, and graphic registration accuracy. We photograph the completed wrap from 12 angles for your records and our portfolio.