
How to Remove a Vinyl Wrap Safely | Chicago Fleet Wraps
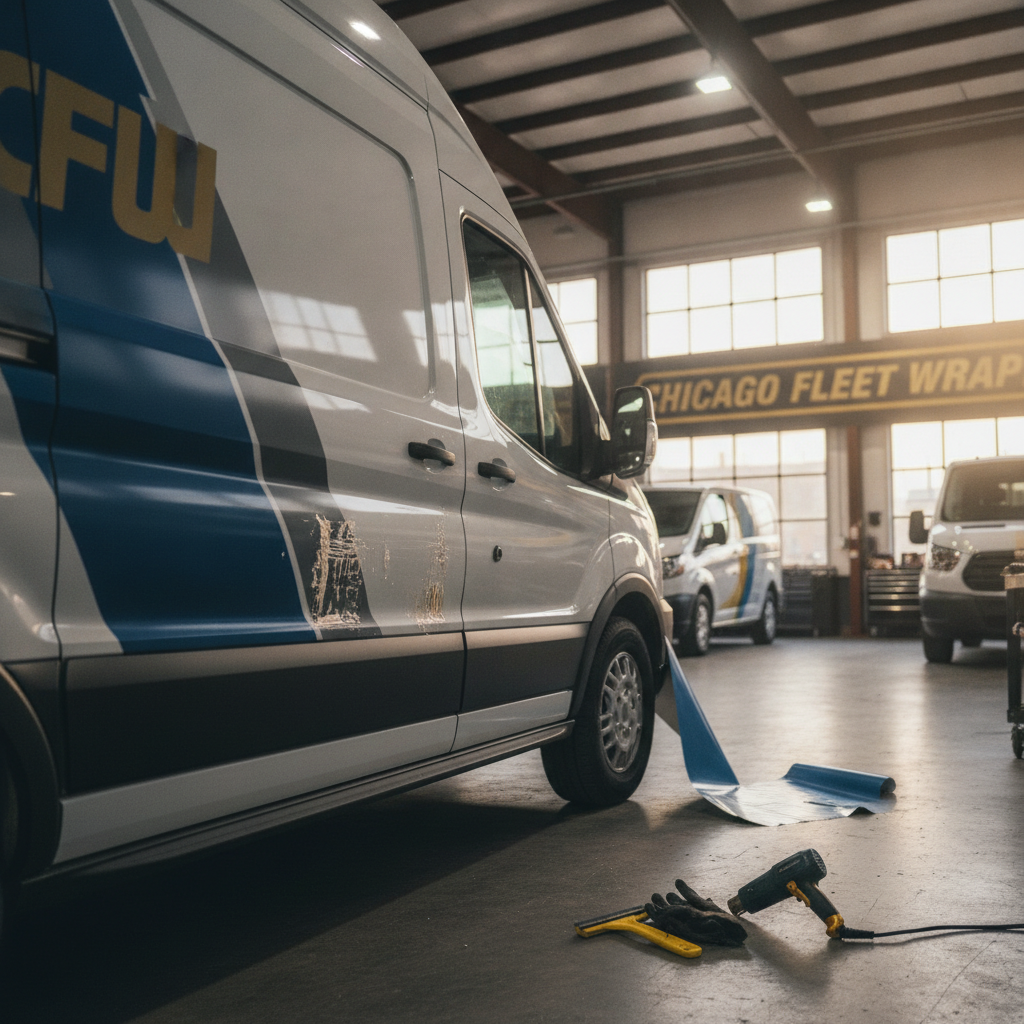
You can remove a vinyl vehicle wrap safely without damaging paint by working slowly with a heat gun, peeling at a low angle, and using a plastic scraper to lift edges before pulling the film back on itself. The window for clean removal is generally within the wrap's rated lifespan, which is 5 to 7 years for cast vinyl. Chicago Fleet Wraps has wrapped 19,400+ vehicles since 2001 and holds 0 verified paint-damage claims, a record built entirely on using proper cast vinyl and disciplined removal technique.
Removing a vinyl wrap the wrong way can strip clearcoat, leave adhesive baked onto the surface, or pull paint off older panels. Doing it right means understanding the material, the timing, and the steps. This guide covers all three, in order, with Chicago-specific details that matter in our climate.
Why Removal Technique Matters More Than Most Shops Admit
Most paint damage during wrap removal comes from two mistakes. First, waiting too long. Second, skipping heat. Both are avoidable.
At Chicago Fleet Wraps, 4711 N Lamon Ave #7 in Portage Park, we use only cast vinyl, specifically Avery Dennison MPI 1105 Supercast and 3M IJ180-CV3 or the newer 3M IJ280, always with UV overlaminate. We never install calendered vinyl. That choice matters at removal time because cast vinyl stays flexible and conformable. Calendered vinyl shrinks over time, especially after Chicago winters on the Kennedy or the Dan Ryan, and it gets brittle. Brittle film tears into tiny pieces during removal and leaves adhesive glued to the surface like it was baked on, because in a Chicago summer it literally was.
Cast vinyl peels in long, controlled strips when you follow the right process. That is the first honest advantage of the material difference.
When to Remove: Timing Is the Most Underrated Variable
The right removal window for a properly installed cast vinyl wrap is before the adhesive passes its rated lifespan. Our wraps are rated for 5 to 7 years. Remove within that window and the adhesive releases cleanly with heat. Wait past it, especially if the vehicle sat outdoors through multiple Chicago freeze-thaw cycles near Lake Shore Drive or in an unheated lot in Bridgeport, and you are fighting chemistry you cannot win without risk to the paint underneath.
Signs You Are Still Inside the Safe Window
- The film lifts at edges when you apply heat and pull at a low angle without tearing.
- Adhesive residue, if any, comes off cleanly with isopropyl alcohol or a dedicated adhesive remover.
- The vinyl does not crack or crumble when flexed.
Signs You Are Past the Window
- The film tears immediately when you try to peel it.
- Adhesive stays bonded to the panel even after heating.
- The vinyl has yellowed, cracked, or separated from the overlaminate.
If you see any of the second group, stop the DIY attempt. Call a professional. Forcing removal at this stage is where paint damage happens.
Tools You Need Before You Start
- Heat gun: 1,500 to 2,000 watt, with adjustable temperature. A hair dryer does not get hot enough consistently.
- Infrared thermometer: Aim for 100 to 120 degrees Fahrenheit at the vinyl surface. Too cold and it tears. Too hot and you soften the clearcoat.
- Plastic trim removal tools or plastic razor blades: Never metal scrapers on painted surfaces.
- Isopropyl alcohol (70 to 90 percent): For adhesive residue cleanup.
- Adhesive remover: 3M General Purpose Adhesive Cleaner or equivalent.
- Microfiber towels: Clean, lint-free.
- Gloves: The film edge is sharp and the gun is hot.
Step-by-Step Removal Process
Step 1: Work in a Controlled Environment
Do not attempt removal outdoors in Chicago between November and March. Cold vinyl tears. Wind cools the surface before you can peel. Our install bay is climate-controlled for exactly this reason. If you are doing this yourself, work in a heated garage. Minimum ambient temperature is 60 degrees Fahrenheit. Ideal is 68 to 75 degrees.
Step 2: Heat a Small Section First
Hold the heat gun 2 to 4 inches from the surface. Move it in slow, overlapping passes. Do not hold it in one spot. Heat a 12-inch square section. Check the surface temperature with your infrared thermometer. You want the vinyl warm to the touch, not burning hot.
Step 3: Lift the Edge at a Low Angle
Find a seam, a door edge, or a corner where the film ends. Slide a plastic tool under the edge to get a starting point. Once you have a tab of film lifted, hold it between your fingers. Pull slowly back on itself at a 15 to 20 degree angle, almost parallel to the vehicle surface. Pulling upward at 90 degrees pulls the adhesive away from the panel hard and increases the chance of paint lifting, especially on older vehicles or panels that have been repainted.
Step 4: Keep the Heat Moving with the Peel
Heat the film just ahead of where you are peeling. This keeps the adhesive warm and releases it from the panel continuously. If the film starts to tear, slow down, apply more heat, and try again. Do not force it.
Step 5: Work in Sections, Not the Whole Panel
Peel in strips of 12 to 18 inches at a time. Reheat before each new section. This is slower but it is the only way to maintain control across a full cargo van or box truck panel.
Step 6: Remove Adhesive Residue
Some residue is normal, especially near seams and overlaps. Apply adhesive remover to a microfiber towel. Wipe in one direction. Do not scrub in circles. Let the chemical do the work. Follow with isopropyl alcohol to remove any remover residue. Inspect under bright light before calling the panel done.
Step 7: Inspect the Paint
Run your hand across the panel. Look for any lifting clearcoat, scuffs, or areas where paint came away with the film. If you see damage, document it immediately and consult a body shop. On a properly painted vehicle with a quality cast vinyl wrap removed within the rated lifespan, this step should be uneventful.
Honest Pros and Cons of DIY Removal
Pros
- Saves the labor cost of professional removal.
- Possible on a single vehicle with the right tools and patience.
- Works well on a wrap that is within the rated lifespan and was installed with quality cast vinyl.
Cons
- One wrong move with a metal tool scratches paint permanently.
- Overheating the surface softens clearcoat and can cause it to wrinkle.
- Chicago winters mean most garage situations are cold, which makes vinyl brittle and removal harder.
- A full cargo van wrap takes 4 to 8 hours even for an experienced hand. Plan accordingly.
- If the wrap was installed with cheap calendered vinyl, DIY removal becomes very difficult regardless of technique.
When to Call a Professional Instead
Call a professional if the wrap is past the 7-year mark. Call if you see tearing after the first attempt with heat. Call if the vehicle has had previous paint work, because adhesion on repainted panels varies and the risk is higher. Call if you are managing a fleet and need multiple vehicles turned around quickly. Our 2,800+ active fleet accounts in the Chicago area exist partly because fleet managers learned that professional removal and reinstall is faster and cheaper than managing paint repair bills.
A Note on Chicago Weather and Wrap Lifespan
Chicago is hard on wraps. The freeze-thaw cycle that cracks Wacker Drive pavement also works on vinyl seams. UV exposure on Lake Shore Drive in summer is higher than people assume. Salt from winter road treatment on I-90 and I-94 gets into wrap edges if installation quality was poor. Our UV overlaminate addresses the sun exposure side. Proper edge sealing at installation addresses the salt and moisture side. All of this affects removal difficulty years later, which is another reason material and installation quality are not just selling points. They determine what your removal process looks like on day one of year six.
People Also Ask
How long does it take to remove a full vehicle wrap professionally?
A professional removal on a full cargo van wrap typically takes 3 to 5 hours when the wrap is within its rated lifespan and was installed with cast vinyl. Wraps that are overdue for removal, applied with calendered vinyl, or that have significant edge lifting can take twice as long. Chicago Fleet Wraps includes removal assessment as part of its 2-hour itemized quote process so there are no surprises on labor time.
Can removing a vinyl wrap damage car paint?
Yes, it can, if done incorrectly. The most common causes of paint damage during wrap removal are using metal tools, pulling at too steep an angle, skipping heat, or removing an overdue wrap. Chicago Fleet Wraps has handled over 19,400 vehicle wraps since 2001 and holds 0 verified paint-damage claims. That record comes from using only cast vinyl materials and following strict removal protocols. On a vehicle with factory paint in good condition and a cast vinyl wrap removed within 5 to 7 years, the risk of damage with proper technique is very low.
What is the best temperature to remove a vinyl wrap?
The vinyl surface should reach 100 to 120 degrees Fahrenheit for clean removal. Ambient shop temperature should be at least 60 degrees, with 68 to 75 being ideal. Cold vinyl, which is common in Chicago garages from October through April, becomes brittle and tears instead of peeling. A quality heat gun with temperature control is the right tool. A heat gun used at the correct distance and speed gives you consistent surface temperature across the panel, which is what makes controlled peeling possible.
Quick Stats: Why Material Choice Drives Removal Outcomes
- 25 years in business, founded 2001, Portage Park, Chicago.
- 19,400+ vehicles wrapped across Chicagoland fleets and individual vehicles.
- 0 verified paint-damage claims across that entire install history.
- 2,800+ active fleet accounts that rely on repeatable installation and removal cycles.
- Cast vinyl only: Avery Dennison MPI 1105 Supercast and 3M IJ180-CV3 or 3M IJ280, always with UV overlaminate.
- Rated wrap lifespan: 5 to 7 years.
- 2-year workmanship warranty on every install.
Ready to Remove or Reinstall? Here Is What to Do Next
If your wrap is approaching the end of its lifespan, or if you want a professional assessment before attempting removal yourself, contact Chicago Fleet Wraps. We offer free pickup and delivery across Chicagoland, a 2-hour itemized quote, and the same cast vinyl materials and disciplined process that have kept our paint-damage claim count at zero for 25 years.
Call (312) 597-1286 or visit us at 4711 N Lamon Ave #7, Chicago IL 60630 in Portage Park. Ask about fleet pricing. Contracts covering 25 or more vehicles receive a 15 percent discount. We will tell you honestly whether your wrap is a clean DIY removal or a job that needs professional hands.
Ready for a quote? See Vehicle Wrap Cost Chicago or get an itemized quote in 2 hours.
Frequently Asked Questions
How long does it take to remove a full vehicle wrap professionally?
A professional removal on a full cargo van wrap typically takes 3 to 5 hours when the wrap is within its rated lifespan and was installed with cast vinyl. Wraps that are overdue, applied with calendered vinyl, or have significant edge lifting can take twice as long. Chicago Fleet Wraps includes removal assessment in its 2-hour itemized quote so there are no surprises on labor time.
Can removing a vinyl wrap damage car paint?
Yes, if done incorrectly. Common causes include using metal tools, pulling at too steep an angle, skipping heat, or removing an overdue wrap. Chicago Fleet Wraps has handled over 19,400 vehicle wraps since 2001 and holds 0 verified paint-damage claims. On a vehicle with factory paint in good condition and a cast vinyl wrap removed within 5 to 7 years, the risk is very low with proper technique.
What is the best temperature to remove a vinyl wrap?
The vinyl surface should reach 100 to 120 degrees Fahrenheit for clean removal. Ambient shop temperature should be at least 60 degrees, ideally 68 to 75. Cold vinyl becomes brittle and tears instead of peeling, which is a real concern in Chicago garages from October through April. Use a quality heat gun with temperature control and keep it moving in slow, overlapping passes.