Everything you need to install vehicle wraps professionally. No fluff. No jargon. Simple enough for Day 1, deep enough for Year 20.
A vehicle wrap is a large printed sticker made from cast vinyl. It goes on the outside of a vehicle — van, truck, car. It turns any vehicle into a moving billboard that works 24 hours a day.
A design is printed onto cast vinyl using a large-format printer. We use Avery MPI 1105 cast vinyl and HP Latex ink. The print is laminated, then cut and installed on the vehicle.
A quality wrap lasts 5–7 years outdoors. We offer a 2-year workmanship warranty. Avery MPI 1105 is rated for full outdoor exposure in any climate.
Cargo vans start at $3,750. Sprinters from $4,700. Box trucks from $5,000–$10,900. Fleet discounts available at 3, 7, 11, and 15+ vehicles.
Cast vinyl = flexible, lasts 7+ years, conforms to curves and rivets. Calendered vinyl = cheap, stiff, cracks in 2–3 years. We use cast only. Never quote calendered to a client.
Avery MPI 1105 and 3M IJ180-CV3 cast vinyl only. Both premium outdoor-rated. No off-brand vinyl. No calendered vinyl. This protects the client and our warranty.
Never install vinyl on a surface below 60°F or above 95°F. Check with the thermometer gun on the actual panel — not the air temperature. Concrete floors radiate cold. Metal panels absorb heat in summer. Always measure before you start.
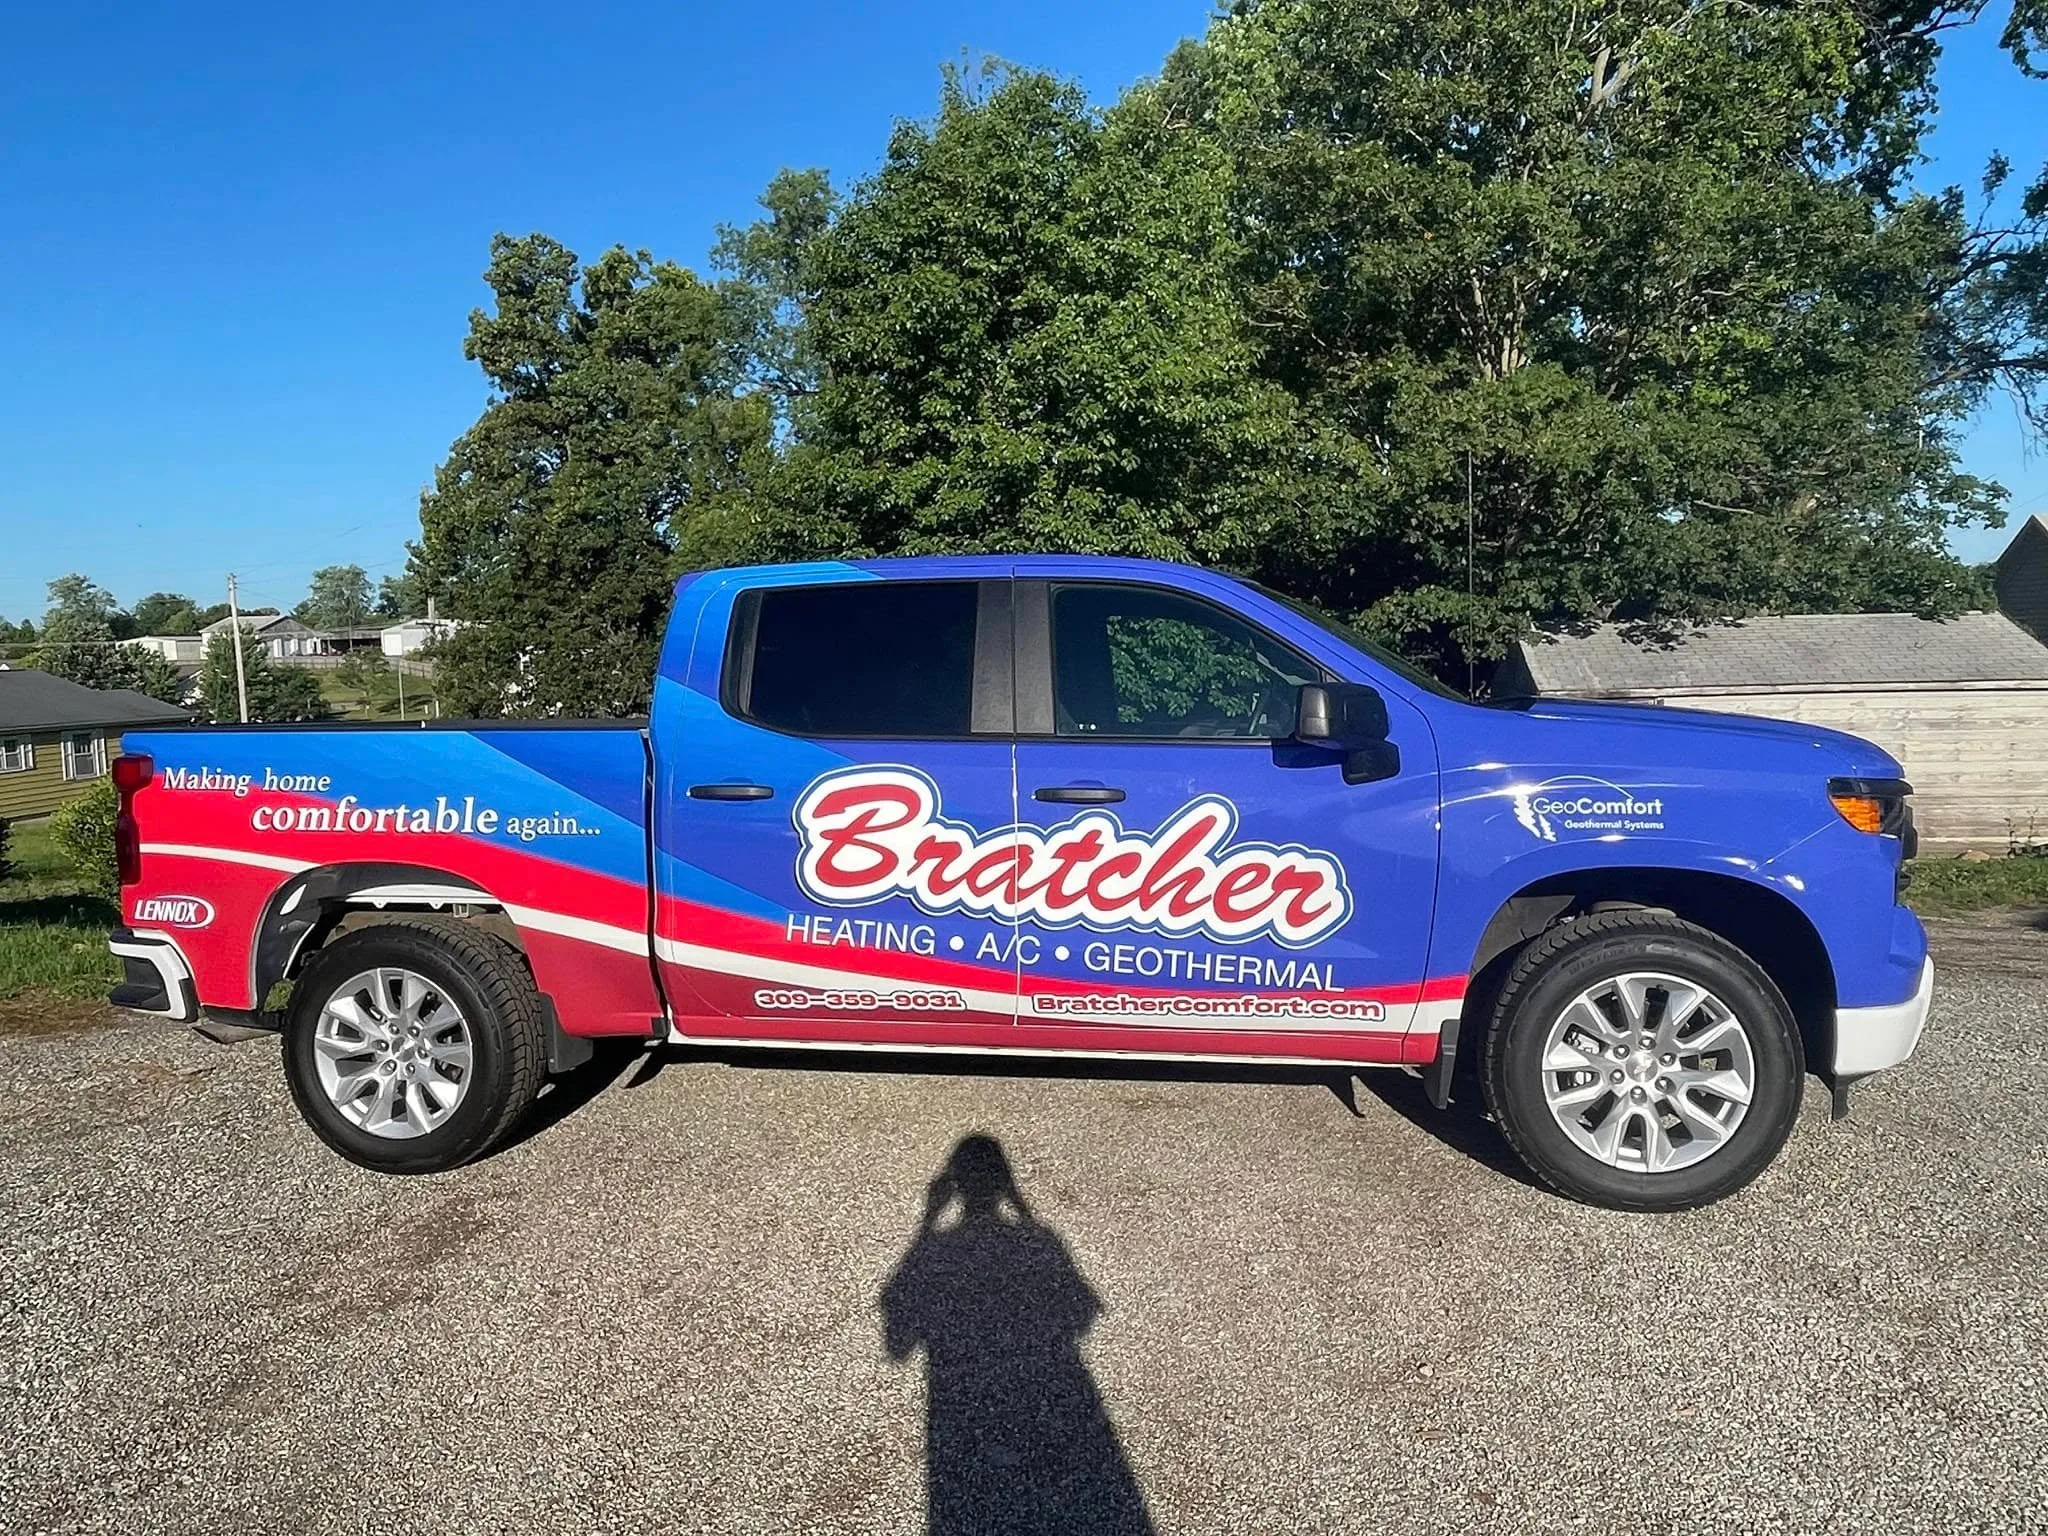
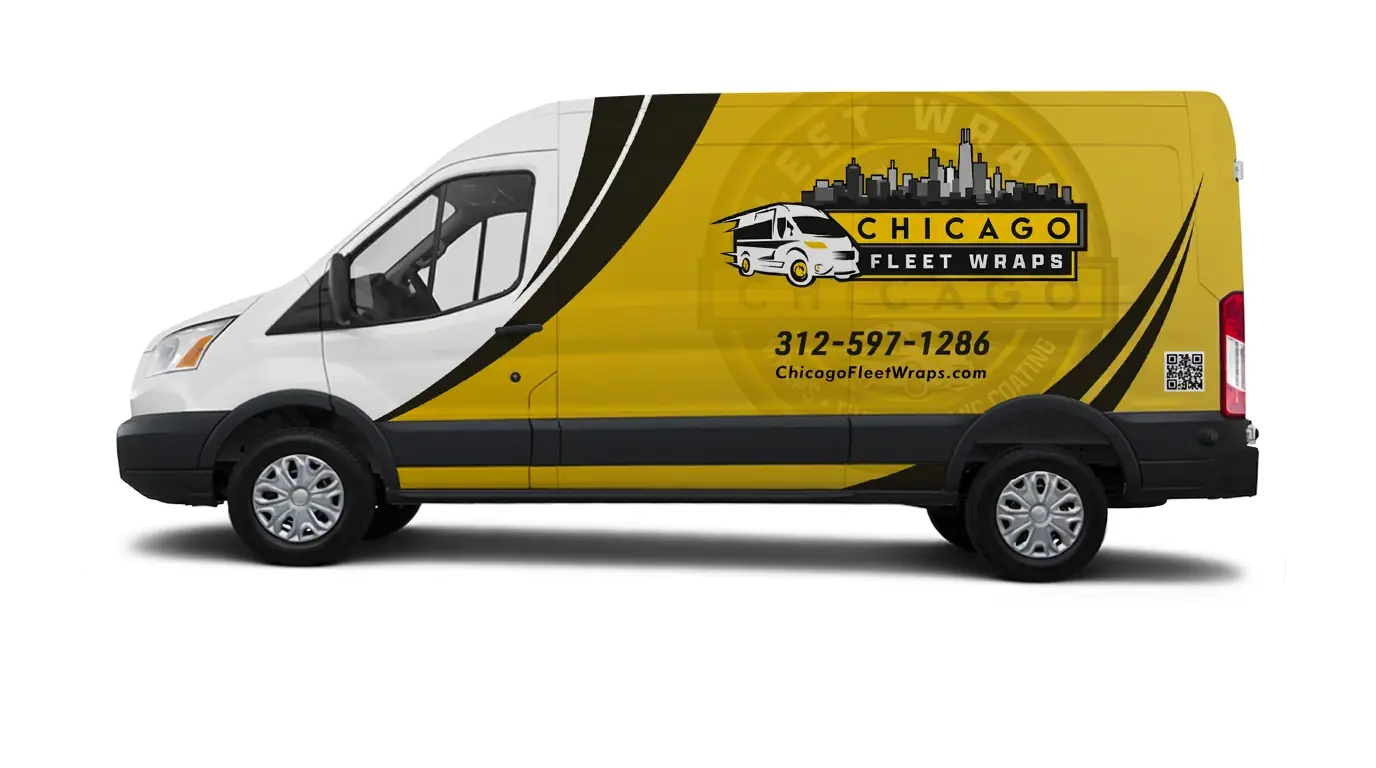
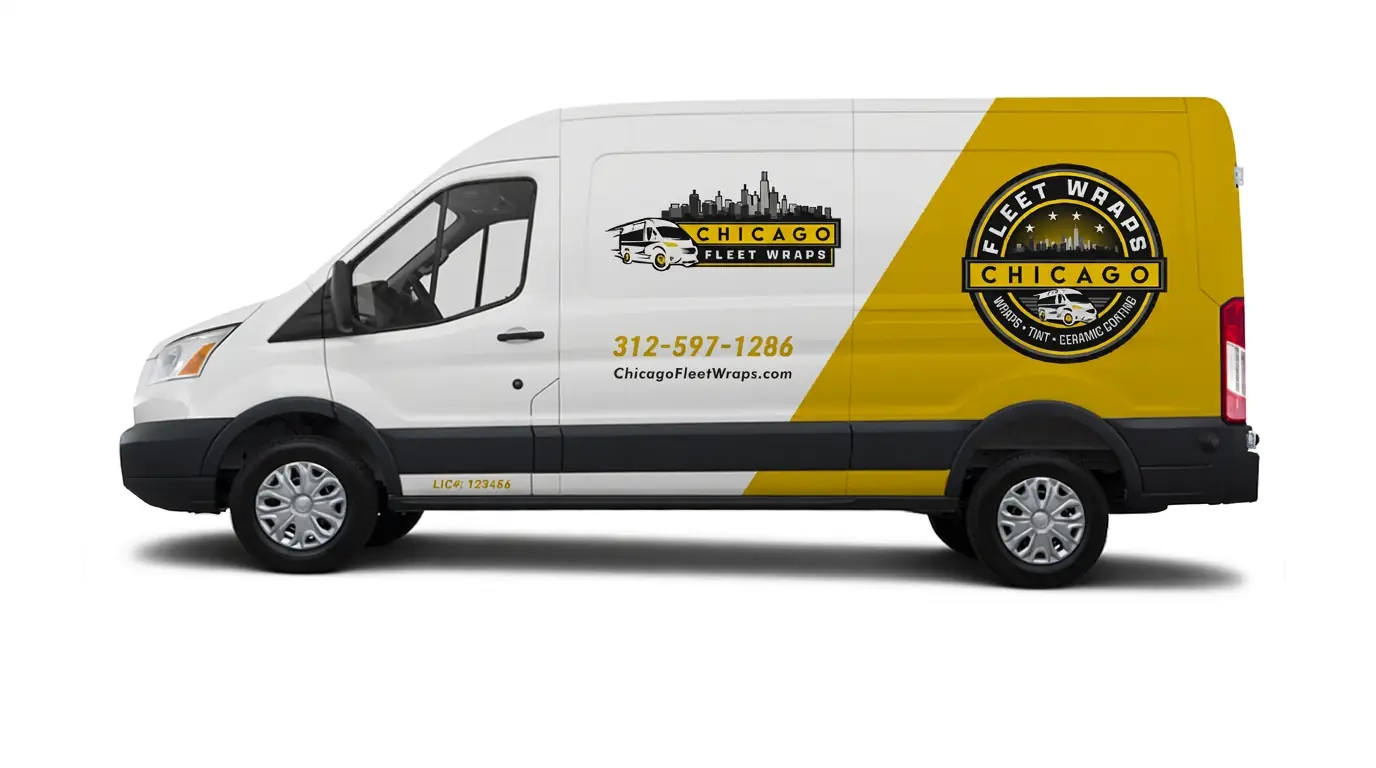
A bad design on perfect vinyl is still a bad wrap. These rules ensure every vehicle we touch makes our clients money. A wrap must communicate brand, service, and phone number in under 5 seconds at highway speed.
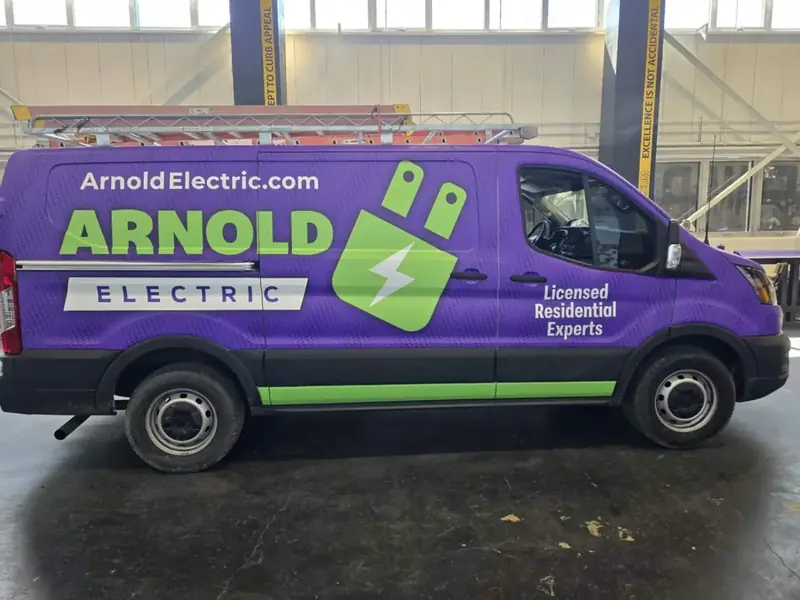
Company name and phone must be readable in 3–5 seconds at 60 mph from 50 feet. Company name needs 10"+ tall letters on a cargo van. Phone number needs 6"+. No script fonts on primary info. Test: if you can't read it as a thumbnail, it fails.
One element leads the eye. Brand name is biggest. Service is second. Phone is third. Graphics are background. Never let a graphic compete with the brand name for attention.
Minimum 70% luminance contrast between text and its background. White or yellow on dark always works. Dark on light always works. Never grey on grey. Max 3 colors in a wrap palette.
The dieline is law. No critical text across door seams, rivets, or wheel arches. No logos split by door gaps. Bumpers and mirrors are accent zones only — no phone numbers there.
If it can't be printed or cut in cast vinyl, don't design it. All edges must have clean vector paths. No feathered edges in cut zones. Metallic effects require metallic vinyl — not printed simulation.
Use exact HEX or Pantone values from the brand guide. Never eyeball colors. Logo appears unmodified — no stretching, recoloring, or drop shadows added. The wrap is a brand touchpoint doing 70 mph.
Leave at least 15% of each panel as base color. Crowded wraps look cheap regardless of print quality. One strong graphic beats five graphics fighting each other. Empty space reads as confidence.
Graphics must flow across the full vehicle as a single composition. Horizontal elements must align across door breaks within ¼" tolerance. Cab and cargo body must feel visually related.
Rear of vehicle = phone number (drivers behind you read this). Driver side lower body = phone number (stop-and-go traffic). Passenger side = full brand story. No CTA on roof, hood, or front bumper.
Design must work as full wrap, half wrap, AND spot graphics. If removing 50% of the wrap breaks the brand read, the hierarchy is wrong. Fix that first before adding more graphics.
Use soap and water. Remove all dirt, road grime, bird droppings, and bug splatter. Pressure washer is ideal. Get into panel gaps, around trim, and under door handles. If the surface is dirty, the vinyl will peel.
Microfiber towels plus compressed air in all panel gaps. Moisture trapped in crevices wicks under vinyl edges and causes lifting. Let the vehicle sit 30+ minutes in a warm bay before vinyl goes down.
Door handles, mirrors, badges, and trim pieces should be removed when possible. Wrap goes underneath, trim reinstalls on top. This gives cleaner edges and longer-lasting installs. Never wrap over a badge — it always peels at the edge.
Run your hand over the surface. Feel for rust bubbles, deep chips, or flaking paint. Vinyl cannot fix a bad paint job — it amplifies defects. Any rust or delaminating paint must be addressed BEFORE vinyl. Fresh paint must cure 30 days minimum before wrapping.
Mix 70% isopropyl alcohol with 30% water. Wipe every panel receiving vinyl. Work section by section — don't let IPA dry before wiping. This removes wax, polish, silicone, and oils that soap missed. This is the last step before vinyl touches the vehicle.
Shoot the thermometer gun at each panel. Must read 60–95°F. Cold panels in winter can drop below 60°F even in a heated bay. Summer metal panels in direct sun hit 120°F+. Heat gun cold panels. Let hot panels cool before starting.

Install large panels first (sides, top). Then smaller fills (pillars, bumpers, rear). This hides overlaps and edges under the next piece. Never start with trim pieces or small fills.
Peel back a few inches of liner and position the vinyl over the panel. Get alignment right BEFORE committing. Use masking tape to "hinge" the panel at the top edge so you can fold it back and peel the liner without losing position.
Always work from the center of the panel toward the edges. Never squeegee edge to edge — this traps air in the middle. Use overlapping strokes at 45°. Apply firm, even pressure. Keep the squeegee moving — stalling creates marks.
On curves, wheel arches, door handles, and body lines, hold the heat gun 6–8 inches away. Heat 5 seconds per spot until vinyl becomes pliable. Press into recesses with your thumb or felt squeegee. Don't overstretch — stretched vinyl shrinks back in cold weather.
Use knifeless tape wherever possible — run it along the edge before installing the vinyl, then pull to cut a clean line without the knife touching paint. For freehand cuts, use a fresh X-Acto blade every panel. Dull blades tear vinyl. Edges must be tucked under trim or overlapped at least ½".
After each panel is laid, go back over every edge, seam, and curve with the heat gun. This activates the adhesive and locks the vinyl permanently. Post-heating is what prevents edges from lifting weeks later. Never skip this step, especially in cold weather.
In strong light with your work light at a 15° angle, scan the panel for air bubbles. Small bubbles under 1cm can often be squeegeed to an edge while warm. Larger bubbles: pierce at the edge with a pin tool, then squeegee flat. Never leave bubbles.
The adhesive needs 48 hours to fully bond. No car wash. No pressure washing edges. In cold weather, give it 72 hours. Tell every client: hand wash only for the first week. No automated brush washes ever — brushes catch edges and cause peeling.


Walk around the vehicle holding your work light at a 15° angle to the surface. This reveals bubbles, lifting edges, and missed spots that are invisible in flat light. Check every item below.
| Vehicle Type | Common Model | Approx Sq Ft | Price Range | Install Time |
|---|---|---|---|---|
| Cargo Van (Standard) | Ford Transit 148", NV200 | 150–200 sq ft | $3,750–$4,500 | 1 day |
| Extended Cargo Van | Transit 350 EXT, Sprinter 170" | 200–260 sq ft | $4,700–$5,800 | 1–2 days |
| Box Truck (14'–16') | GMC Savana, NPR | 280–360 sq ft | $5,000–$7,500 | 2 days |
| Box Truck (20'–24') | Hino, Isuzu NRR | 400–520 sq ft | $7,500–$10,900 | 2–3 days |
| Passenger Van | Transit Passenger, Starcraft | 180–240 sq ft | $4,500–$6,000 | 1–2 days |
| Full-Size Pickup | F-150, Ram 1500, Silverado | 120–160 sq ft | $2,800–$4,200 | 1 day |
| Semi Trailer (53') | Freightliner, Kenworth | 900–1,200 sq ft | $12,000–$22,000 | 3–5 days |
| Electric Van | Rivian EDV, Rivian R1T | 160–220 sq ft | $4,200–$5,500 | 1–2 days |
3 vehicles = 3% off · 7 vehicles = 7% off · 11 vehicles = 11% off · 15+ vehicles = 15% off. Always present fleet pricing to commercial clients. Fleet accounts are CFW's highest-value business segment.
Cause: Skipped IPA wipe, low surface temp, or missed post-heat.
Fix: Always IPA wipe. Always check temp. Post-heat every edge immediately after laying the panel — not at the end of the day.
Cause: Squeegeeing from the wrong direction, or trapping air when laying the panel.
Fix: Always center-out strokes. Use the hinge method to lay vinyl progressively, not all at once.
Cause: Vinyl overstretched during install. Cold weather contracts it, pulling edges off.
Fix: Never stretch vinyl more than 20–30%. Cut relief slits instead of stretching. Tuck edges under trim always.
Cause: Printer maintenance skipped, wrong ICC profile, or old ink.
Fix: Run nozzle checks every morning. Use the correct ICC profile for Avery MPI 1105. Purge if banding appears on test print.
Cause: Panels installed without reference points.
Fix: Use a tape measure and chalk marks to set a horizontal reference line at door waist height before touching vinyl. Check alignment with doors open AND closed.
Cause: Client approved design on screen only. Monitor colors never match print output.
Fix: Always print a physical color proof and have the client sign it before printing the full job. Screen-only approval is not an approval.